
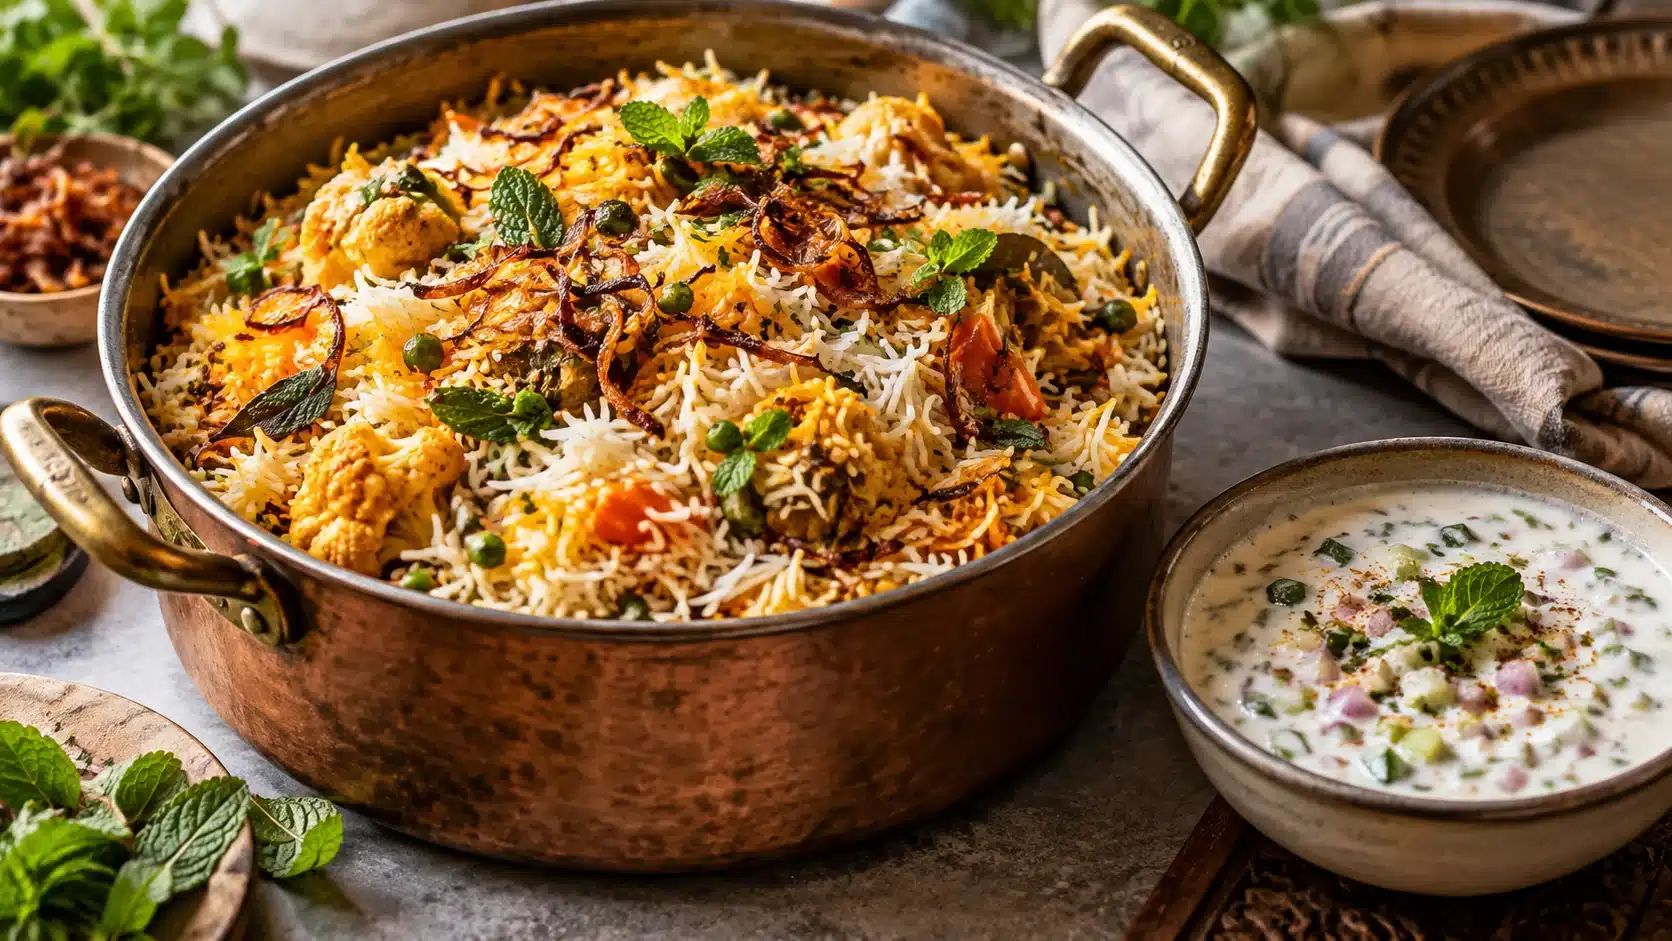
Biryani at Home: Rice, Spices and the Right Method
In short: Biryani at home works by layering partly cooked basmati over filling and steaming both in a sealed pot.
This paneer and vegetable dum biryani serves 4 and takes 1 hour 40 minutes, including a 30-minute rice soak and 10-minute rest.
Par-cook the rice to about 70 percent before layering.
A lot of what gets called biryani is really spiced rice with things stirred through it.
Pleasant, but not the dish.
Real biryani has separate, long grains, some white and some saffron-gold, a fragrant layer of filling underneath, and a sealed pot that lets the two steam into each other.
None of it is difficult.
It is just a sequence, and every step has a reason.
Buying the right rice
Biryani is mostly rice, so the rice decides the result.
Use long-grain basmati, and if you can, aged basmati, rice that has been stored for a year or more before sale.
Ageing dries the grain, so it absorbs water evenly, grows long rather than fat, and stays separate instead of turning sticky.
New-crop basmati is fine for everyday plain rice but tends to break and clump in biryani.
Three habits matter as much as the bag you buy:
- Rinse the rice in several changes of cold water until it runs almost clear.
That removes surface starch, which is what glues grains together. - Soak it for 30 minutes.
The grains absorb water gently, cook more evenly and lengthen further.
Longer than an hour and they turn brittle. - Never stir rice once it is boiling or layered.
Stirring breaks the grains.
Lift and fold gently with a flat spoon if you must move it at all.
Choose an aged basmati rice labelled extra long or 1121 grain if you see it, and keep the same brand once you find one you like, because cooking times vary a little between them.
The spice side
Biryani uses spices in two places, and they do different jobs.
- Whole spices in the rice water. Bay leaves, green cardamom, cloves, a piece of cinnamon and a teaspoon of shahi jeera (black cumin) go into the boiling water.
They perfume each grain without colouring it.
You can leave them in the rice, which is traditional, or fish them out. - Ground masala in the marinade. Yoghurt, ginger-garlic paste, chilli, turmeric and biryani masala, which is a blend of warm spices built for this dish, flavour the filling.
This is where the depth comes from.
Finishing touches, a few strands of saffron soaked in warm milk, fresh mint, coriander and deeply fried onions, go between the layers at the end.
You can buy all the whole spices for the layering in small packs, and most of them already sit in the starter spice rack.
Biryani versus pulao
The two are often confused, and the difference explains the whole method.
- Pulao cooks everything together.
Rice, spices, vegetables or meat and a measured amount of water go into one pot and simmer until the water is absorbed.
Every grain tastes the same.
It is quicker and simpler. - Biryani cooks the rice and the filling separately, then layers them and finishes them together in a sealed pot, the step called dum.
The rice stays partly white and partly coloured, the filling stays distinct, and the steam carries flavour between the layers.
If your biryani tastes the same in every spoonful, it has become pulao.
That is not a disaster, but it is not what you were aiming for.
The method, step by step: paneer and vegetable dum biryani (serves 4)
For the filling
- 250 g paneer, cut into large cubes
- 300 g mixed vegetables: carrot, green beans, peas and one potato, cut into even pieces
- 200 g thick plain yoghurt
- 1 tablespoon of ginger-garlic paste
- 2 tablespoons of biryani masala
- Half a teaspoon each of turmeric and red chilli powder
- 1 teaspoon of salt
- 2 large onions, thinly sliced, and oil for frying them
- A handful each of mint and coriander leaves
For the rice
- 300 g aged basmati rice
- 2 litres of water and 1 tablespoon of salt
- 2 bay leaves, 4 green cardamom pods, 4 cloves, a small cinnamon stick, 1 teaspoon of shahi jeera
- A pinch of saffron in 3 tablespoons of warm milk
- 2 tablespoons of ghee
- Marinate. Mix the yoghurt, ginger-garlic paste, biryani masala, turmeric, chilli and salt.
Fold in the paneer and vegetables and leave for 30 minutes while the rice soaks. - Fry the onions. Fry the sliced onions in a few centimetres of oil over medium heat for 15 to 20 minutes until deep golden and crisp, then drain them.
This is birista, and it is where much of the biryani’s sweetness comes from.
Keep the flavoured oil. - Cook the filling. In a heavy, wide pot, heat 2 tablespoons of the onion oil, add the marinated vegetables and paneer, and cook for 8 to 10 minutes until the potato is almost tender and the sauce is thick, not watery.
Stir in half the fried onions, mint and coriander.
Spread it flat across the base of the pot. - Par-cook the rice to 70 percent. Bring the salted water and whole spices to a rolling boil.
It should taste as salty as the sea.
Add the drained rice and boil for 5 to 6 minutes.
Test a grain: it should bend and break with a thin, firm white core still in the centre.
That is 70 percent.
Drain at once. - Layer. Spread the rice over the filling in an even layer.
Do not press it down.
Scatter over the remaining fried onions, mint and coriander, drizzle the saffron milk in streaks, and pour the ghee over the top. - Seal. Cover the pot with foil, then the lid, so no steam escapes.
Traditionally the lid is sealed with a rope of dough. - Dum. Put a flat tawa or heavy frying pan under the pot to spread the heat, and cook on the lowest heat for 20 to 25 minutes.
- Rest. Turn off the heat and leave it sealed for 10 minutes.
Then open, and serve by digging down to the base with a flat spoon so every plate gets both layers.
Buy fresh paneer for the filling close to cooking day, and keep plenty of ghee and frying oil on hand.
The onions alone use more oil than you might expect.
For why ghee works so well on top, see how ghee behaves at high heat.
Vegetarian, paneer and meat versions
The method above stays the same across versions.
What changes is the marinade and the time the filling needs.
- Vegetable only: marinate for 20 to 30 minutes, and cut hard vegetables such as carrot and potato small enough to cook through in the pre-cooking step.
Soft vegetables such as peas go in last. - Paneer: paneer needs only a short marinade and should not be cooked hard in the pan, or it turns rubbery.
Some cooks fry the cubes lightly first so they hold their shape. - Chickpea or egg: cooked chickpeas or halved hard-boiled eggs make a hearty vegetarian or egg version with no change to the timing.
- Chicken: marinate bone-in pieces for at least two hours, and cook the filling until the chicken is fully done before layering.
The traditional kacchi method layers raw meat under the rice and relies on a long, very low dum, which needs more experience to get right.
Five things that go wrong
- Mushy rice. The rice was boiled past 70 percent, or it was stirred.
Drain it the moment the grain still has a firm white core, and stop stirring once it is in the pot. - Raw centre. Too little steam.
Either the pot was not sealed and the steam escaped, or the filling was too dry.
Seal with foil under the lid, and if the filling looks dry, sprinkle 3 or 4 tablespoons of water over it before adding the rice. - Bland top layer. The rice water was not salty enough.
It should taste like the sea.
The saffron, fried onions and ghee on top also carry flavour into the upper rice, so do not skip them. - Burnt base. The heat was too high or the pot too thin.
Use the heaviest pot you own, set a tawa underneath, and keep the dum on the lowest flame. - Opening too early. Lifting the lid lets the steam out and the top layer stays hard and dry.
Wait the full 20 to 25 minutes, then the 10-minute rest.
That rest also lets the grains firm up so they do not break as you serve.
The weeknight shortcut
On a busy evening, make a one-pot version.
Fry onions and whole spices, add the vegetables or chicken and a good spoon of ready biryani masala, add rinsed and soaked basmati with water at about 1.5 times the volume of the rice, cover and cook on low for 15 minutes, then rest for 10.
It takes about 40 minutes in all.
Be honest about the trade-off.
This is closer to a pulao: the grains are evenly coloured and you lose the contrast of the layers.
It is still very good, and a ready blend does the spice work for you.
Most families keep a box of ready biryani masala for exactly these nights.
Save the full dum version for the weekend.
Shopping list
- Aged long-grain basmati rice
- Whole spices: bay leaf, green cardamom, cloves, cinnamon, shahi jeera
- Biryani masala, turmeric, red chilli powder
- Saffron, ghee and frying oil
- Paneer, thick yoghurt, onions, mint and coriander
- Vegetables or chicken for the filling
We deliver same-day across Nieuwegein, Utrecht, Leidsche Rijn, Vleuten, Maarssen, Zeist, Bunnik, IJsselstein, Vianen and Culemborg.
Delivery is a flat 2.49 euros and free on orders over 49 euros.
Two practical questions
Can I use sella or parboiled basmati for biryani?
Yes.
Golden or white sella basmati is pre-steamed, so it is almost impossible to make mushy, which makes it popular for large batches and catering.
It needs a longer soak and slightly longer par-cooking, and the grains are firmer and less fragrant than standard aged basmati.
How do I reheat biryani without drying it out?
Sprinkle a tablespoon or two of water over each portion, cover it, and reheat gently in a covered pan or in the microwave with a lid.
The steam softens the rice again.
Rice should be cooled quickly, kept in the fridge and eaten within a day.
Make it once by the method, and the next one will feel like second nature.




You must be logged in to post a comment.